
How does anyone really decide if they’re a plotter or a pantser, or somewhere in between? I’ve always wanted the nice organization and structure of an outline, but never found an outlining style that’s worked for me – so instead I go for a standard 3-Act Structure template, and then I fiddle with it until I can stand to look at it.
Then, I proceed to not look at it unless it’s been about 5 chapters since my last check-in with the outline. It’s a brilliant process, truly, because then I get to write myself into far more issues than initially planned. Let me walk you through my outlining process.
Step 1: Copy & Paste the 3-Act Structure
3 acts divided into 9 blocks, with 3 chapters per block makes for a lovely 27-chapter outline.
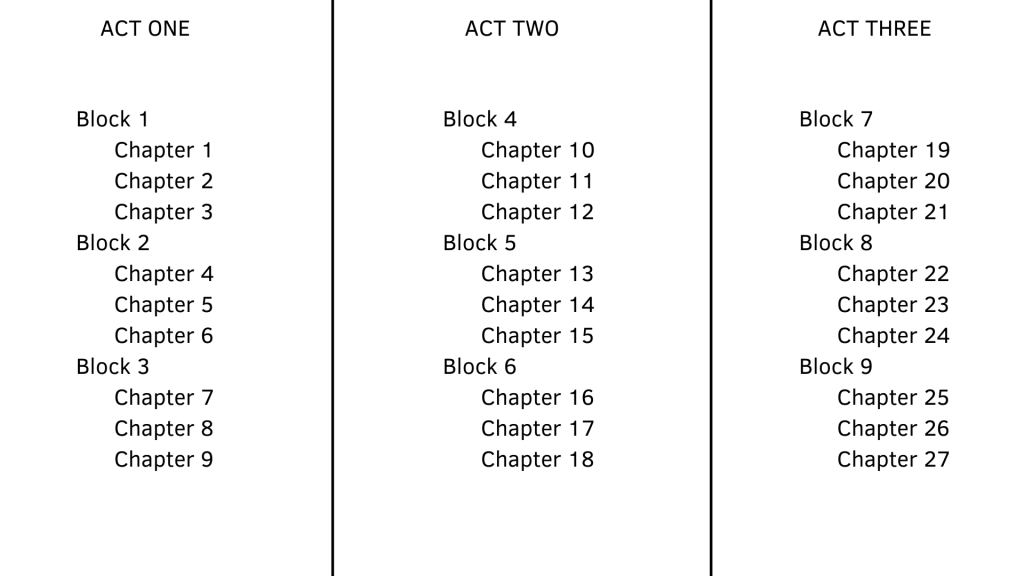
This is the basic organization system, and you can see what each of these blocks and chapters is “supposed to mean” here, here, or here. Let’s just say, this is old news, and I have all the trouble in the world following it.
Step 2: Start by Filling Out Block 1, Then Forget the Format
I would say that this basic, 3-act structure is a decent place to start outlining for most stories, as it provides you with two main pillars/points of no return, pushing the plot forward into each subsequent act. Knowing this structure and thinking of your plot in these terms is super helpful. So then, why do we forget the format?
Well, I say forget the format, but don’t completely mean this. The format, as I just said, is super helpful. What I suggest you do is review the basic structural format, then think of points A, B, C, and D (add as many letters as needed) in your novel. This is usually going to be the main story beats, often coinciding with a couple structural beats in the 3-act structure. Mine are usually opening/old world, inciting incident, climax/battle, and resolution. These are chapters 1, 2, 26, and 27 according to the classic 3-act structure, so basically, I tend to go with the very beginning and very end.
Step 3: Tweak the Standard
My one qualm with the 3-act structure is the pacing, and that’s why I think up my ordered main beats before approaching the 27-chapter behemoth. Once I have these typed in where they should go, I work around them. Adding an extra chapter between block 1 and 2, because I really need an event to happen and it fits best there, or merging chapters 11 and 12 together because they really flow well into each other as one chapter.
I suggest you do the same, taking your main story beats, sprinkling them in, and then filling in the rest as the story naturally progresses. I also try not to limit myself with how many words I’d like the outline to be, just letting the words flow and allowing myself to dive as deep as I need to get into the story. If I have a ton of ideas in my head for one chapter, I’ll pour all the words into this chapter of the outline. If I have no words for a chapter, I’ll probably wait until all the other chapters are filled out on the outline before I force myself to write at least one connecting sentence or determining that that chapter’s purpose was already taken care of.
Step 4: Copy & Paste the Outline
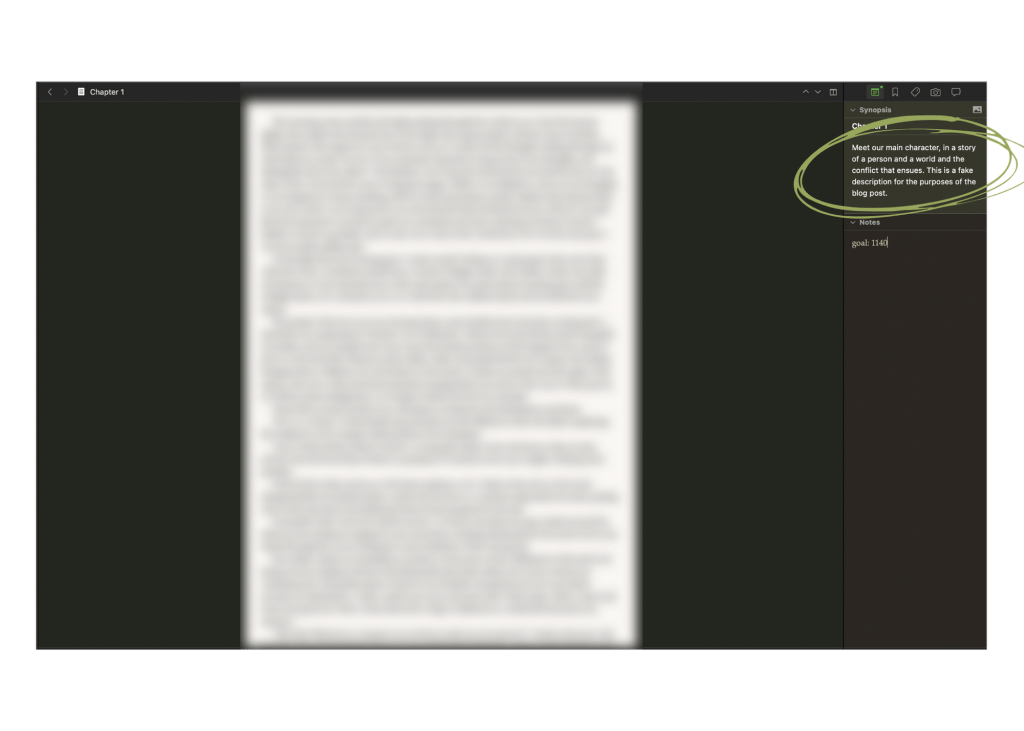
After you and I finish this outline, the next step is to create your chapter separations in your word processing system. I use Scrivener, and so I have a different page for each chapter.
In each chapter, I go ahead and post the outline words into the little “synopsis” section off to the side. This lets me know my intentions for each chapter, and also makes sure that after I’ve put in the work, I can make sure that the chapter matches the main ideas without having to pull up the outline doc again.
Before using Scrivener, I would use Google Docs and create my chapter headings ahead of time, then use the comments feature for my outline sentence or just copy & paste the outline words into each chapter’s body, that way I would have the outline when I went to start writing, but could expand on it to create the full chapter. (Plus, this was a nice way for me to beef up my word count by a couple hundred words at the beginning.)
Step 5: The Best/Worst Part
And now, we get to the best and worst part. Outlining’s done, and it’s time to write. Now, I can’t tell you how to write, but I can tell you this – get writing, and write furiously. Write as many words as your brain will let you, and then push a little harder still. If you want to be an author, or content creator, or anything of the like, it’s not going to happen with a blinking cursor on a blank page.
That’s basically all for my outlining process, and I hope that this has proven helpful to you. Good luck with whatever stage of the writing process you may be in, and I’ll see you on the other side.
K. Kestrel

Leave a comment